Brush up on ear tagging techniques
By Scott Holt
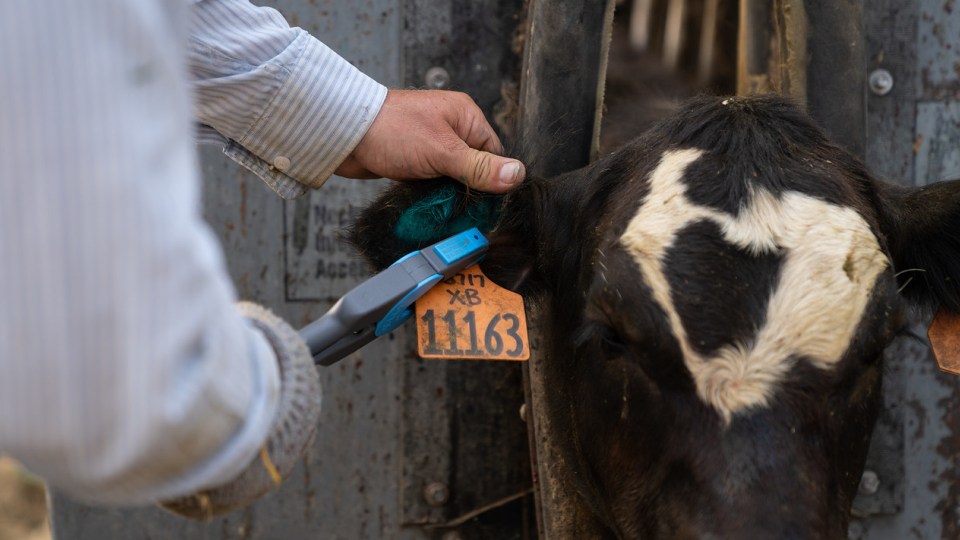
Ear tags are essential tools for the cattle industry. By applying visual ear tags with unique identification of individual animals, cattle producers can better manage their herds, keep accurate records and make decisions for herd improvement. Electronic (EID) tags allow for digital recordkeeping and lifetime traceability of animals.
While ear tagging is a common practice in cattle production today, it’s a good idea to periodically refresh your skills – especially as new practices and technologies are introduced to make the process safer and easier.
Ensuring proper and effective application of ear tags is essential for long-term tag retention and accurate identification, as well as reducing animal stress and risk of infection or injury.
To make the process easier on the animal and the caregiver, follow these recommendations for ear tag application preparation and placement.
Prepare your tools
First, ensure you have enough tags and applicators on hand for the number of animals being tagged. When ordering additional tagging equipment, allow ample time for delivery in case of shipping delays.
Next, create an efficient and safe workstation, ensuring tagging equipment is in readiness so animals can be handled quickly and efficiently.
Taggers should be kept in good working order, with extras on hand. An old and rusty tag applicator may be difficult to squeeze or make a loud noise that could startle the animal. New, lightweight, ergonomic applicators are more comfortable, both for the animal and for the person doing the tagging.
Establish biosecurity measures
Use proper hygiene to help prevent spread of bacteria and viruses, such as bovine papillomavirus or bovine leucosis, from animal to animal.
To prevent infection, clean the ear area, wash hands and use gloves, clean the tagger with alcohol or other disinfectant, and place equipment on a hygienic surface to minimize transmission of unhealthy microbes.
Restrain animals properly
Keep animals restrained to help the tagging process go more smoothly, as well as protect the person administering the tag.
If tagging calves, keep them away from the cow to prevent the mother interfering with the process. Calf crates may work well with calf/cow catchers to help. Gently position its head to allow access to the ears. Often the best way is to position the head between your legs, facing your head in the same direction as the calf’s.
Restrain older animals in a chute for tag application while vaccinating or handling other processing steps.
Know the right placement
Train workers on manufacturer’s instructions for loading the tag, pin and button into the applicator. A common mistake is applying the tag backwards, so double-check to ensure staff know how to load the tag properly into the applicator before catching the animal.
It’s important to place tags properly in the ears to prevent unnecessary pain. Make sure the ear is clean and clear away any debris or hair.
The bovine ear has two large veins running parallel to each other from the head to the tip of the ear. Avoid piercing these veins to prevent bleeding. Also avoid the cartilage ridges in the middle of the ear. If the ear tag goes through these ridges, it could cause infection or deform the ear.
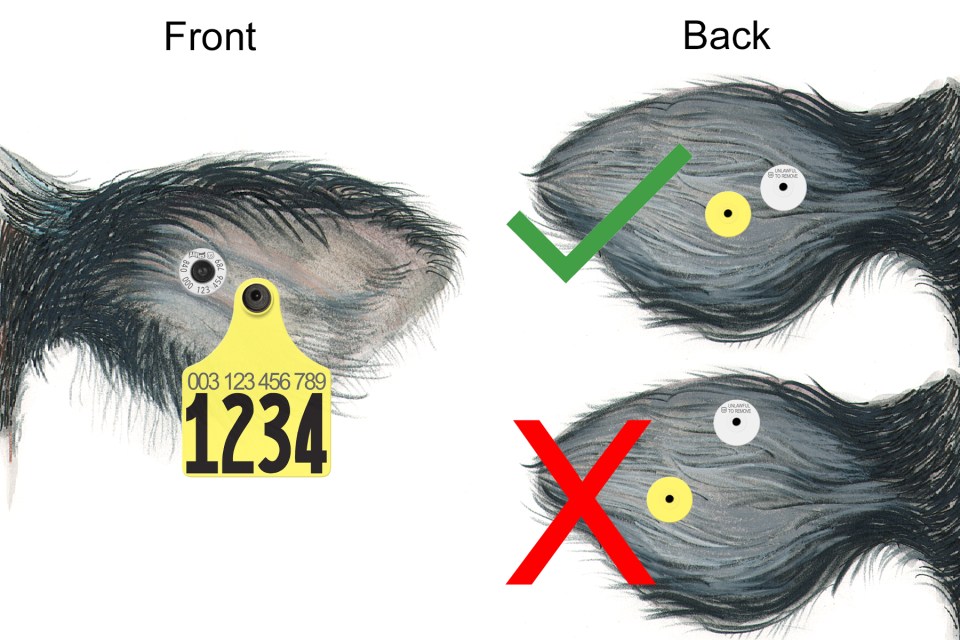
Insert visual tags in the center of the ear and EID tags two-thirds of the way into the ear from the edge of the ear toward the skull. Tags that are applied too close to the tip of the ear may become snagged and pull out more easily. The part of the ear that is closer to the head has thicker cartilage. Therefore, a tag placed there may not fit properly, pinch the ear and be painful for the animal. The illustration below shows proper tag placement.
After application, rotate the tag to make sure it moves freely. Repeat this process for the other ear.
Continuously monitor
After tagging, keep an eye on the animal for several days and watch for any signs of infection or irritation. In the unlikely event of an infection, remove the tag and consult your veterinarian for treatment advice. Make sure the infection has cleared before reapplying the tag.
Extra attention to proper techniques can ensure quick and comfortable tagging, preventing animal setbacks while supporting your operation’s recordkeeping and traceability needs. For more information, visit AllflexUSA.com.
Insert the tag in the middle one-third of the ear. Tags that are applied too close to the tip of the ear may become snagged and pull out more easily. The part of the ear that is closer to the head has thicker cartilage. Therefore, a tag placed there may not fit properly, pinch the ear and be painful for the animal. (See accompanying illustration for proper tag placement.) After application, rotate the tag to make sure it moves freely. Repeat this process for the other ear.
Monitoring
After tagging, keep an eye on the calf for several days and watch for any signs of infection or irritation. In the unlikely event of an infection, remove the tag and consult your veterinarian for treatment advice. Make sure the infection has cleared before reapplying the tag.
Extra attention to proper techniques can ensure quick and comfortable tagging, preventing calf setbacks while supporting your operation’s recordkeeping needs.
Visit AllflexUSA.com for more information.
Find more content for your beef operation.
About the author

Scott Holt
Associate Director, North American Strategic Accounts
Merck Animal Health